Connecting, starting and operating the portable high temperature endoscope on site.
Place 1.mp4 in the site root to play the video here.
Each device leaves the factory pre-connected internally; on site you mainly connect the system between the modules.
After checking that every connection is correct, turn on the compressed air, ventilate, then power on and adjust the optics.
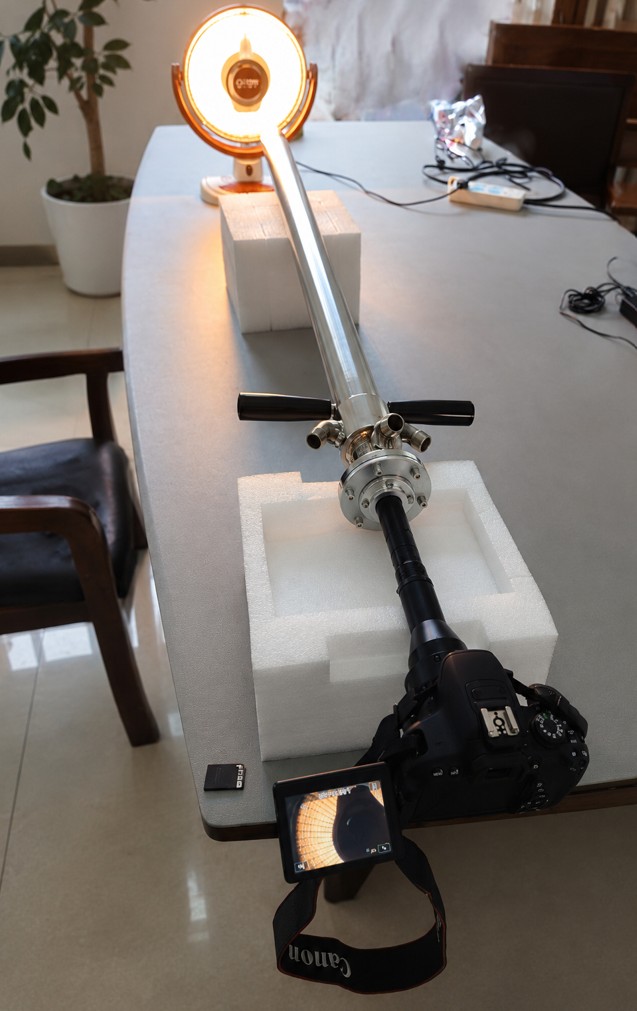
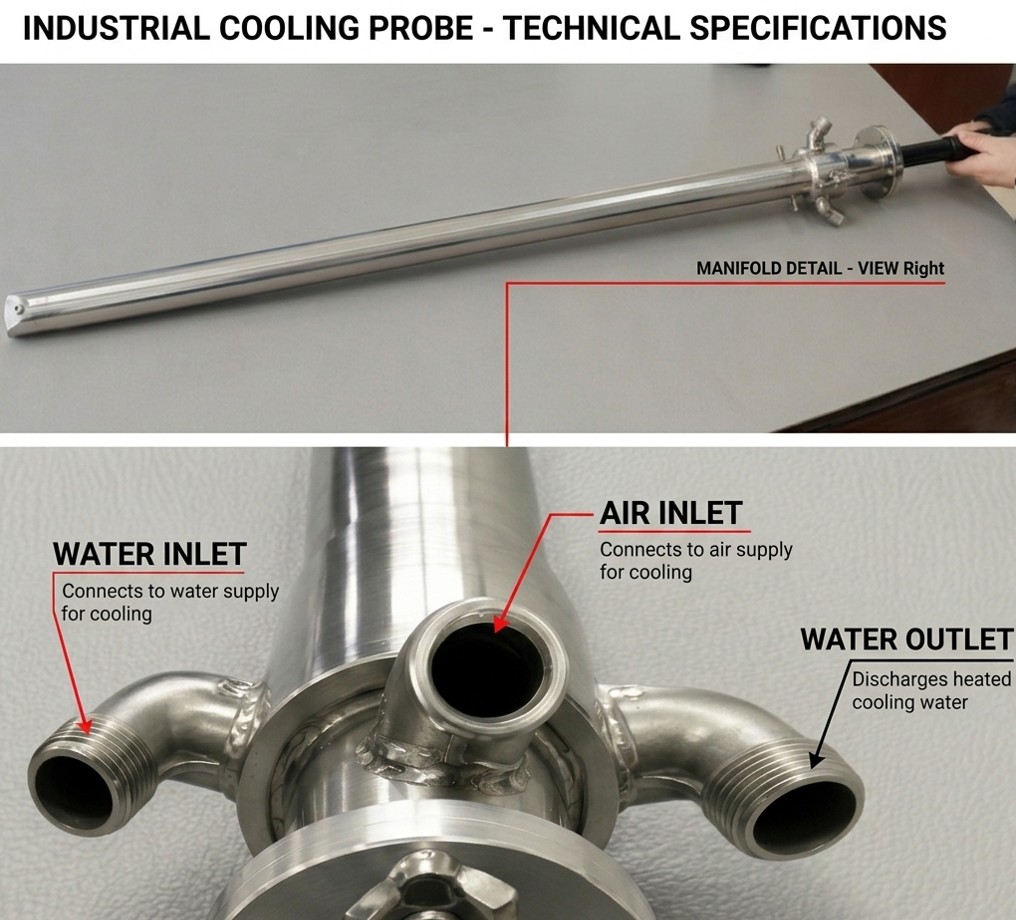
Connect air, water, signal and camera between the modules.
Verify every connection is correct and tight.
Turn on compressed air and ventilate for about 5 minutes.
Switch on the power once cooling is confirmed.
Set aperture for brightness, then focus until the image is clear.
0.3 MPa · ≥ 0.3 m³/min · clean instrument air.
0.1–0.4 MPa differential · ≥ 30 L/min · ≤ 35 °C.
An existing opening / port sized for the Ø55 mm probe.
Stable power supply for the camera and display.
Tell us your furnace and supply conditions — we will guide the installation and start-up.